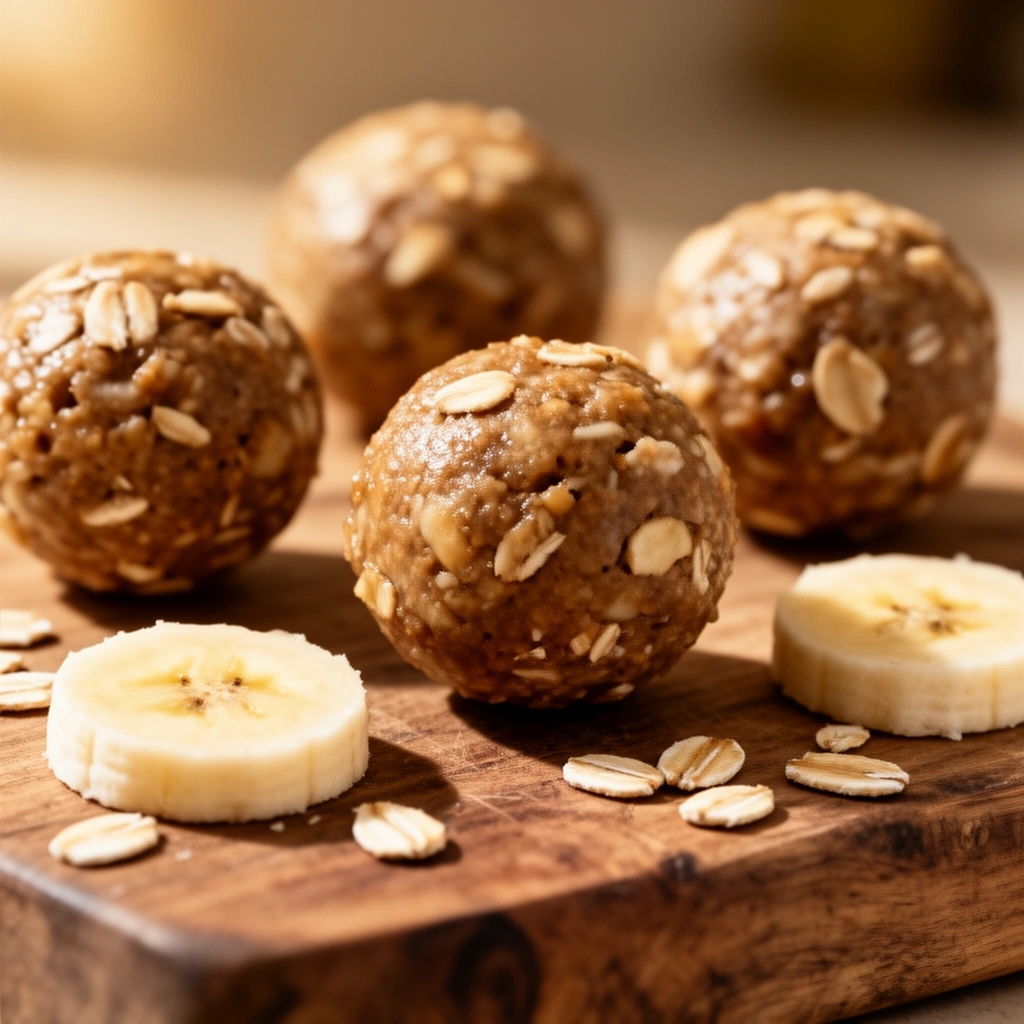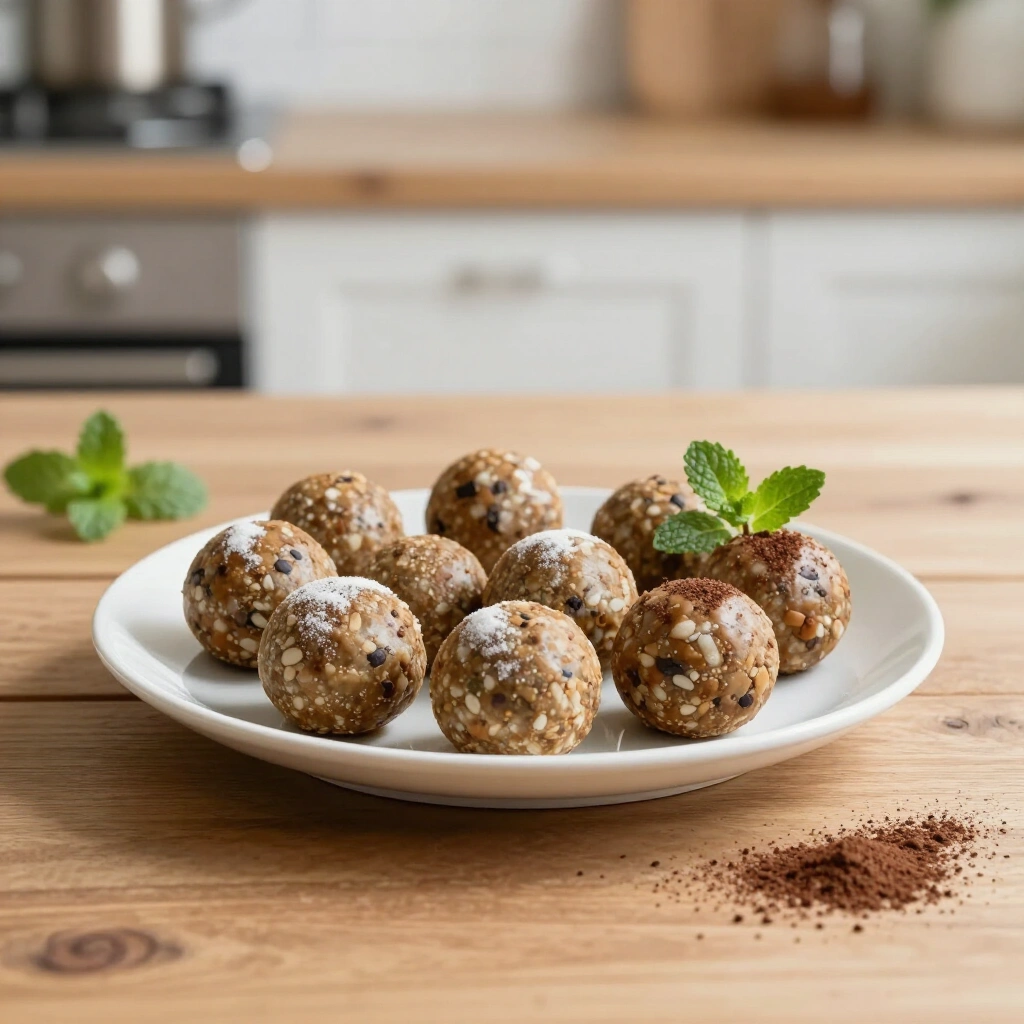

You know that 3 PM slump where your brain starts convincing you that a bag of chips is a totally reasonable life choice? Yeah, I’ve been there more times than I’d like to admit. That’s exactly how I stumbled onto low sugar protein balls , and honestly, they changed my snacking game completely.
Why Low Sugar Protein Balls Deserve a Spot in Your Freezer
Most store-bought protein snacks are either cardboard-flavored or secretly loaded with sugar. It’s a trap, and most of us have fallen for it at least once. Making your own low sugar protein balls at home means you control exactly what goes in , no mystery ingredients, no hidden syrups.
What You’ll Need to Make These
No need for a pantry overhaul. Most of these ingredients are probably already sitting in your kitchen.
The Brownie Ball Ingredients
- 1.5 cups Medjool dates, pitted , the natural sweetener doing all the heavy lifting
- 2 tbsp oat flour , keeps things together without weighing them down
- 3 tbsp cocoa powder , for that deep, rich chocolate flavor
- 1 scoop protein powder , vanilla or chocolate both work great here
- 2 tbsp nut or seed butter , almond, peanut, sunflower, your call
- 1 tsp vanilla extract , a small addition that makes a big difference
- Pinch of sea salt , balances out the sweetness perfectly
The Chocolate Coating
- ¾ cup chocolate chips , go dark for lower sugar content
- 1 tsp coconut oil , makes the chocolate smooth and dippable
- Flaky sea salt , optional, but absolutely worth it
How to Make Low Sugar Protein Balls (Step-by-Step)
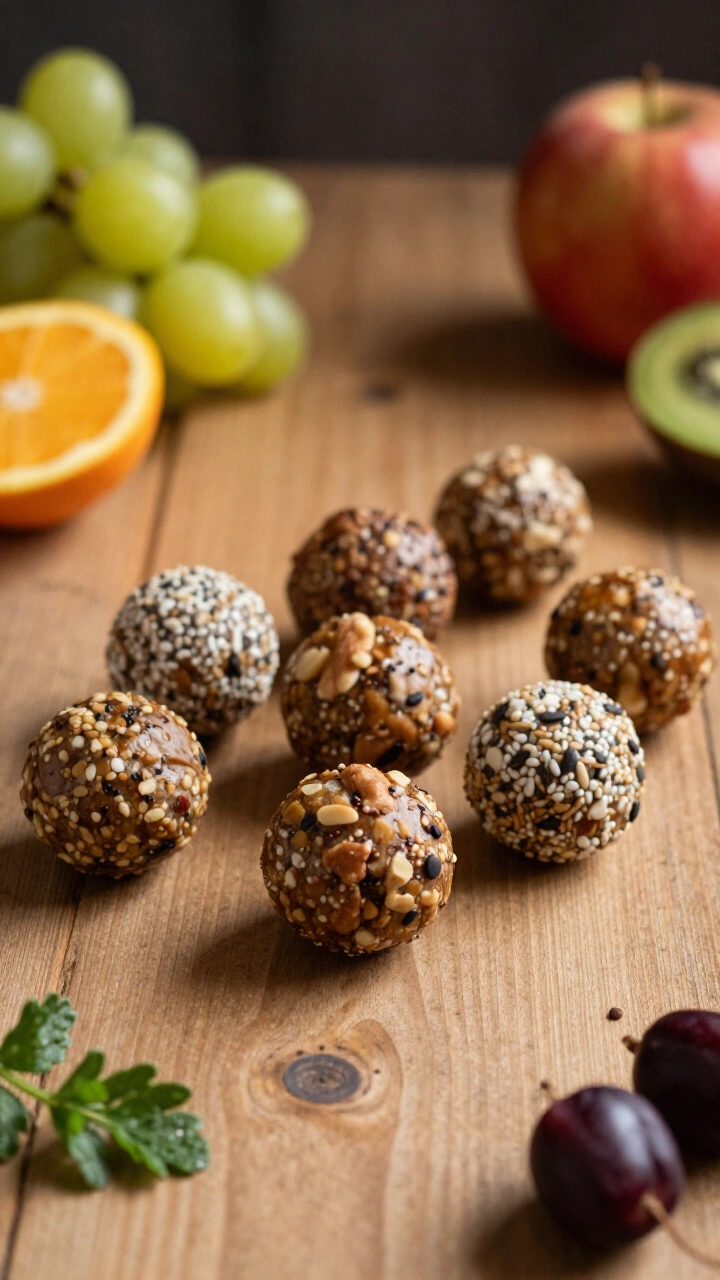
This recipe is genuinely easy. You don’t need to be a confident home cook , if you can operate a food processor, you’re already halfway there.
Step 1: Blend the Brownie Ball Mixture
Add all the brownie ball ingredients to your food processor , dates, oat flour, cocoa powder, protein powder, nut butter, vanilla extract, and sea salt. Blend until everything comes together into a sticky, uniform dough. It should look fudgy and hold its shape when you press it together.
If the mixture seems too dry, add a teaspoon of water at a time until it comes together. If it’s too sticky to handle, a quick 10-minute chill in the fridge makes rolling much easier.
Step 2: Roll and Freeze
Scoop out even portions and roll them into balls using your palms. Aim for roughly tablespoon-sized portions , about the size of a large marble. Place them on a parchment-lined tray and pop them in the freezer while you prep the chocolate coating.
Step 3: Melt the Chocolate
Melt your chocolate chips and coconut oil together using a double boiler or in 30-second microwave bursts, stirring between each. The coconut oil makes the chocolate fluid enough to coat evenly and gives it a nice shine once it sets.
Step 4: Dip and Freeze Again
Take your chilled balls out of the freezer and dip each one into the melted chocolate, letting the excess drip off before placing them back on the tray. Sprinkle with flaky sea salt right away , it sticks best while the chocolate is still wet. Then freeze for another 15 to 20 minutes until the coating fully sets.
That’s it. You just made something that looks and tastes impressive with maybe 20 minutes of active effort.
Storing Your Protein Balls the Right Way
Keep these in the freezer , that’s where they live best. The chocolate coating stays firm, the texture stays fudgy, and they last for up to a month (though realistically they’re gone much faster than that).
Pull one out about 5 minutes before eating if you like them slightly softer, or eat them straight from the freezer if you enjoy that satisfying snap of the chocolate shell. Both are excellent options depending on your mood.
FYI , they also work great packed in an insulated lunchbox for a few hours, making them a solid option for work snacks, gym bags, or road trips.
Customizing Your Low Sugar Protein Balls
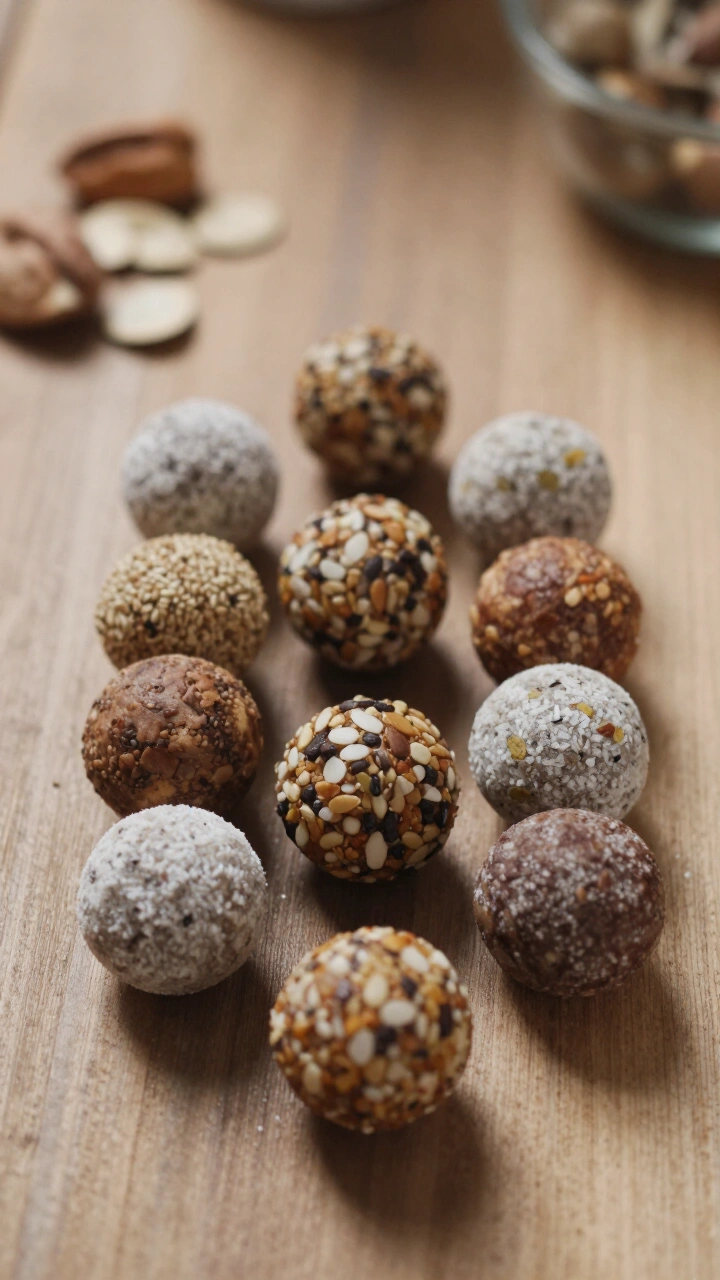
One of the best things about this recipe is how easy it is to make it your own. Here are a few variations worth trying:
Flavor Twists
- Espresso brownie balls , add 1 tsp of instant espresso powder to the food processor for a mocha vibe
- Mint chocolate , add ¼ tsp peppermint extract for a refreshing twist
- Spicy chocolate , a tiny pinch of cayenne in the coating adds a surprising warmth
Coating Options
- Skip the chocolate dip and roll them in cocoa powder or crushed nuts instead for a simpler finish
- Use white chocolate chips for a sweeter, creamier coating (note: slightly higher sugar)
- Drizzle instead of dip for a lighter coating that still looks great
Dietary Swaps
- Gluten-free: Use certified GF oat flour , the recipe stays exactly the same
- Nut-free: Sunflower seed butter works perfectly and tastes great
- Vegan: Choose a plant-based protein powder and dairy-free chocolate chips
How These Compare to Store-Bought Protein Snacks
Let’s be real , the protein snack aisle is a minefield. Most bars and bites contain 15 to 25 grams of added sugar, use protein isolates of questionable quality, and cost anywhere from $3 to $5 per bar.
These homemade low sugar protein balls use whole food ingredients, cost a fraction of the price per serving, and you can adjust the protein content based on which powder you use. The chocolate dip alone makes them feel indulgent enough that you won’t feel like you’re “eating healthy” , which, honestly, is exactly the point.
The Nutrition Breakdown (Approximate Per Ball)
This depends on your specific ingredients and portion size, but as a general guide for a batch of 12 balls:
- Protein: 5–7g per ball (depending on your protein powder)
- Natural sugars: Primarily from dates and chocolate chips
- Healthy fats: From nut butter and coconut oil
- Fiber: From dates and oat flour, helping you stay full longer
Final Thoughts: Make the Batch This Weekend
Low sugar protein balls are the rare snack that actually delivers on every front , they satisfy a sweet tooth, provide real protein and healthy fats, and keep you full without a sugar crash. They’re easy to make, easy to store, and genuinely delicious.
12
servings20
minutes25
minutes180
kcalIngredients
1.5 cups Medjool dates, pitted
2 tbsp oat flour
3 tbsp cocoa powder
1 scoop protein powder (vanilla or chocolate)
2 tbsp nut or seed butter
1 tsp vanilla extract
Pinch of sea salt
3/4 cup chocolate chips
1 tsp coconut oil
Flaky sea salt, optional
Directions
- Add the dates, oat flour, cocoa powder, protein powder, nut or seed butter, vanilla extract, and sea salt to a food processor.
- Blend until the mixture becomes a sticky, uniform dough that holds together when pressed.
- If the mixture seems dry, add water 1 teaspoon at a time until it comes together; if too sticky, chill for about 10 minutes.
- Scoop the mixture into tablespoon-sized portions and roll into balls with your hands.
- Place the balls on a parchment-lined tray and freeze briefly while you prepare the coating.
- Melt the chocolate chips with the coconut oil using a double boiler or in short microwave bursts, stirring until smooth.
- Dip each chilled ball into the melted chocolate, letting the excess drip off, then return to the tray.
- Sprinkle with flaky sea salt immediately, if using.
- Freeze for 15 to 20 minutes, or until the chocolate coating is fully set.
Notes
- Store in the freezer for up to 1 month; let sit 5 minutes before eating for a softer texture.

About the author
Written by Arman
Hi, I'm Muhammad Arman, a healthy food expert who is passionate about helping you build a better life through real, nourishing food. I share simple, practical tips and clean recipes because I truly believe that eating well should feel good, not complicated.
Published April 17, 2026 Updated June 1, 2026