Japanese Dressing
Hey there, fellow food lover! If you’re anything like me, you’ve probably fallen down the rabbit hole of Japanese cuisine, whether it’s sushi, salads, or even grilled meats. And let’s be honest, one of the best ways to elevate those dishes is with a killer dressing that screams authentic Japanese flavor. That’s where Japanese dressing comes in, simple, flavorful, and totally addictive.
Today, I’m going to walk you through everything you need to know about making your own Japanese dressing at home. No fancy ingredients, no complicated techniques, just good vibes and delicious results. Ready? Let’s do this!
Why Make Your Own Japanese Dressing?
Before we get into the nitty-gritty, I want to share why homemade Japanese dressing is a total game-changer.
- Freshness beats store-bought every time. You control the ingredients and avoid preservatives or excess sugar.
- Customize to your taste, more tang, less sweetness, whatever floats your boat.
- Cost-effective, those little bottles can add up! Making your own saves money in the long run.
- Versatility, use it on salads, grilled veggies, even as a dipping sauce for tempura or sushi rolls.
Honestly, once I started whipping up my own Japanese dressings, I couldn’t go back to the bottled stuff. Plus, it’s super fun to experiment with flavors!
The Basics of Japanese Dressing
Alright, let’s get into the core ingredients that give Japanese dressing its signature flavor.
Key Ingredients
Here’s what you’ll need for a classic Japanese dressing:
- Soy sauce (2-3 tablespoons)
- Rice vinegar (2 tablespoons)
- Sesame oil (1 tablespoon)
- Mirin (1 tablespoon) , optional but adds a lovely sweetness
- Honey or sugar (1 teaspoon) , for balancing the salty and tangy notes
- Grated fresh ginger (1 teaspoon) , adds a zing
- Minced garlic (1 teaspoon) , optional but highly recommended
- Water (1-2 tablespoons) , to loosen the dressing if needed
Optional Add-ins
Want to spice things up? Try adding:
- Sriracha or chili flakes for heat
- Lime juice for extra acidity
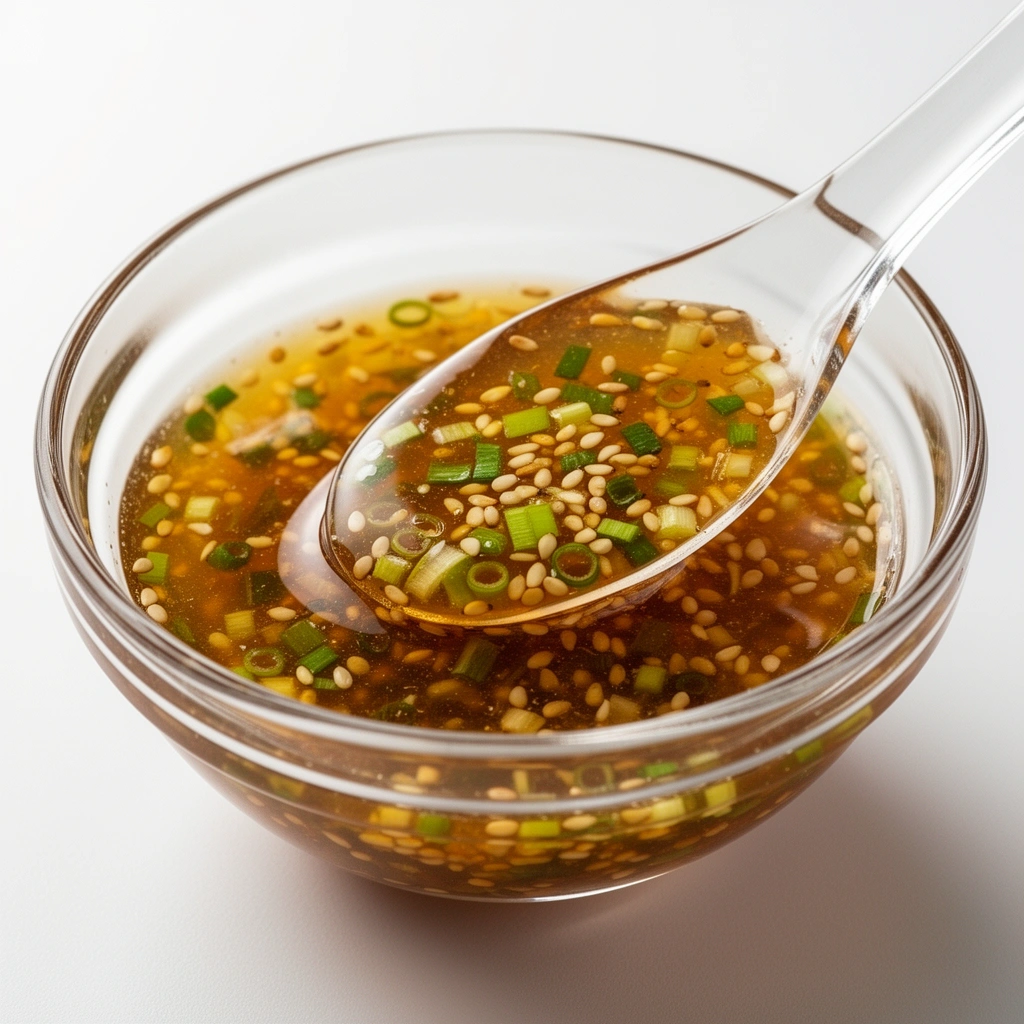
- Sesame seeds for crunch and flavor
The Perfect Balance
The key is balancing salty, sweet, sour, and umami. I always tweak the ingredients slightly based on what I’m dressing, sometimes a little more soy or vinegar depending on my mood. FYI, don’t be shy with the sesame oil, it’s what gives it that nutty depth we all love.
How to Make Japanese Dressing in 5 Easy Steps
Now, let’s get to the good stuff, making this dressing in your own kitchen. Trust me, it’s easier than boiling water!
Step 1: Grab a Bowl or Jar
Use a small bowl or a jar with a tight-fitting lid. I prefer jars because you can shake everything up, less mess, more fun.
Step 2: Mix the Liquids
Pour in the soy sauce, rice vinegar, sesame oil, and mirin (if using).
Step 3: Add Sweetness and Flavor
Stir in honey or sugar until dissolved. Add grated ginger and minced garlic if you’re using them.
Step 4: Shake or Whisk
If you’re using a jar, screw on the lid and give it a good shake. If you’re in a bowl, whisk everything vigorously until well combined.
Step 5: Adjust Consistency and Taste
Add water a teaspoon at a time if the dressing feels too thick. Taste and adjust soy or vinegar if needed, IMHO, a good dressing should strike a perfect balance.
And voila! You’ve got yourself a delicious Japanese dressing ready to jazz up any dish.
Tips for Storing Your Japanese Dressing
Making a fresh batch is great, but what if you want to keep some for later? Here’s the scoop:
- Store in an airtight container, a jar or a squeeze bottle works perfectly.
- Refrigerate, keep it in the fridge to preserve freshness. It will last around 1-2 weeks.
- Shake before use, the ingredients might separate over time, so give it a good shake each time.
- Watch for signs of spoilage, if it smells off or develops mold, toss it. Better safe than sorry!
Pro tip: I like to make a bigger batch and keep it handy for salads all week. It saves time and keeps my meals tasting fresh.
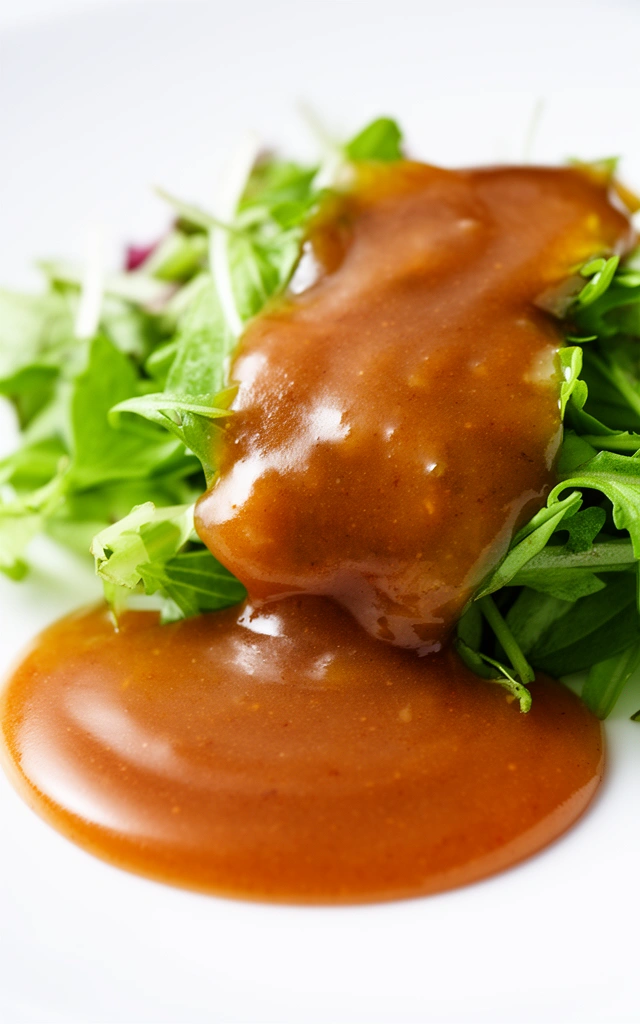
Creative Ways to Use Japanese Dressing
Sure, it’s perfect on salads, but don’t stop there! Here are a few fun ideas:
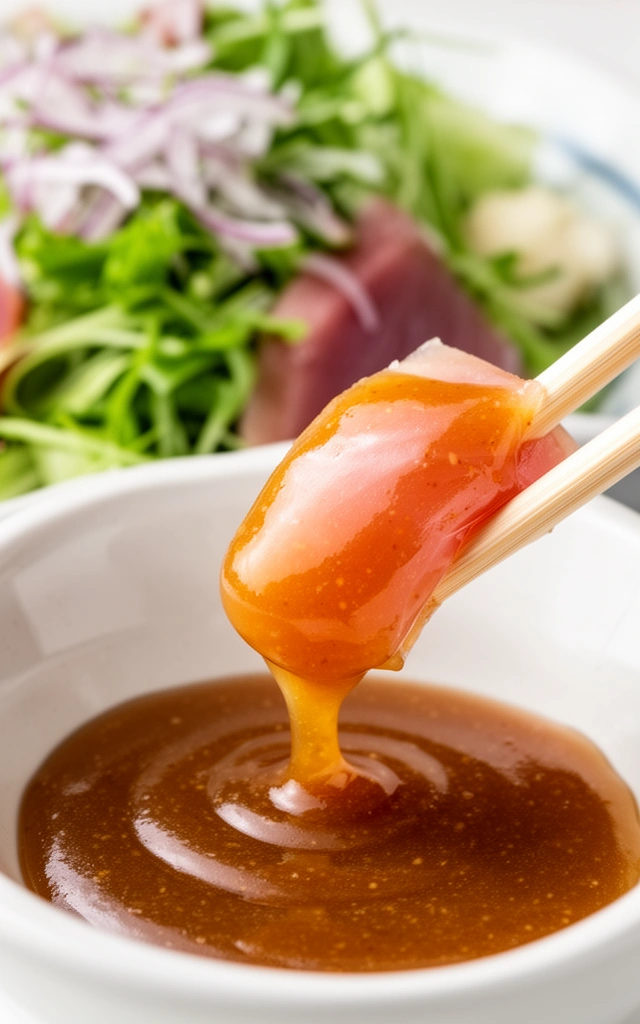
- Drizzle over grilled chicken or fish for an Asian-inspired marinade.
- Use as a dipping sauce for tempura, gyoza, or spring rolls.
- Toss with noodles or rice bowls for an instant flavor boost.
- Pour over roasted vegetables like broccoli, carrots, or bell peppers.
- Mix into slaw for a tangy, nutty twist.
Honestly, once you start experimenting, you’ll find your own secret ways to use this versatile dressing.
Comparing Store-Bought vs Homemade Japanese Dressing
Let’s be real, sometimes time is tight, and grabbing a bottle seems easier. But here’s what you’re missing out on:
| Feature | Store-Bought | Homemade |
|---|---|---|
| Freshness | Preservatives and additives | Fresh, natural ingredients |
| Flavor Control | Fixed recipe | Customize to your liking |
| Cost | Can be pricey | Very budget-friendly |
| Shelf Life | Longer shelf life | 1-2 weeks, best fresh |
| Versatility | Limited options | Endless variations |
IMO, homemade wins every time for flavor and freshness. Plus, it’s satisfying knowing you made it yourself.
Wrapping It Up
So there you have it, your ultimate guide to Japanese dressing that’s easy, tasty, and totally customizable. Making your own dressing means you get to control the ingredients and elevate your meals with authentic flavor.
Next time you’re craving that umami punch or just want to impress friends with your culinary skills, whip up a batch. Trust me, once you taste it, you’ll be hooked.
And hey, don’t forget, keep that dressing refrigerated and shake it up before each use. Simple, right? Now go on, dress up those salads and meals with your new secret weapon! 😊
Happy cooking!
6
servings10
minutes2
minutes45
kcalIngredients
2-3 tablespoons soy sauce
2 tablespoons rice vinegar
1 tablespoon sesame oil
1 tablespoon mirin (optional)
1 teaspoon honey or sugar
1 teaspoon grated fresh ginger
1 teaspoon minced garlic (optional)
1-2 tablespoons water (to thin if needed)
Sriracha or chili flakes (optional, for heat)
Sesame seeds (optional, for crunch)
Directions
- Grab a small bowl or a jar with a tight-fitting lid.
- Pour in the soy sauce, rice vinegar, sesame oil, and mirin (if using).
- Stir in honey or sugar until dissolved. Add grated ginger and minced garlic if using.
- If using a jar, screw on the lid and shake well. If using a bowl, whisk vigorously until well combined.
- Add water a teaspoon at a time if the dressing feels too thick. Taste and adjust soy sauce or vinegar as needed.
Notes
- Store in an airtight jar or container in the refrigerator for up to 1-2 weeks. Shake well before each use as ingredients may separate. Great on salads, grilled chicken, roasted vegetables, noodles, or as a dipping sauce for tempura and gyoza.