Apple Crumble Bars
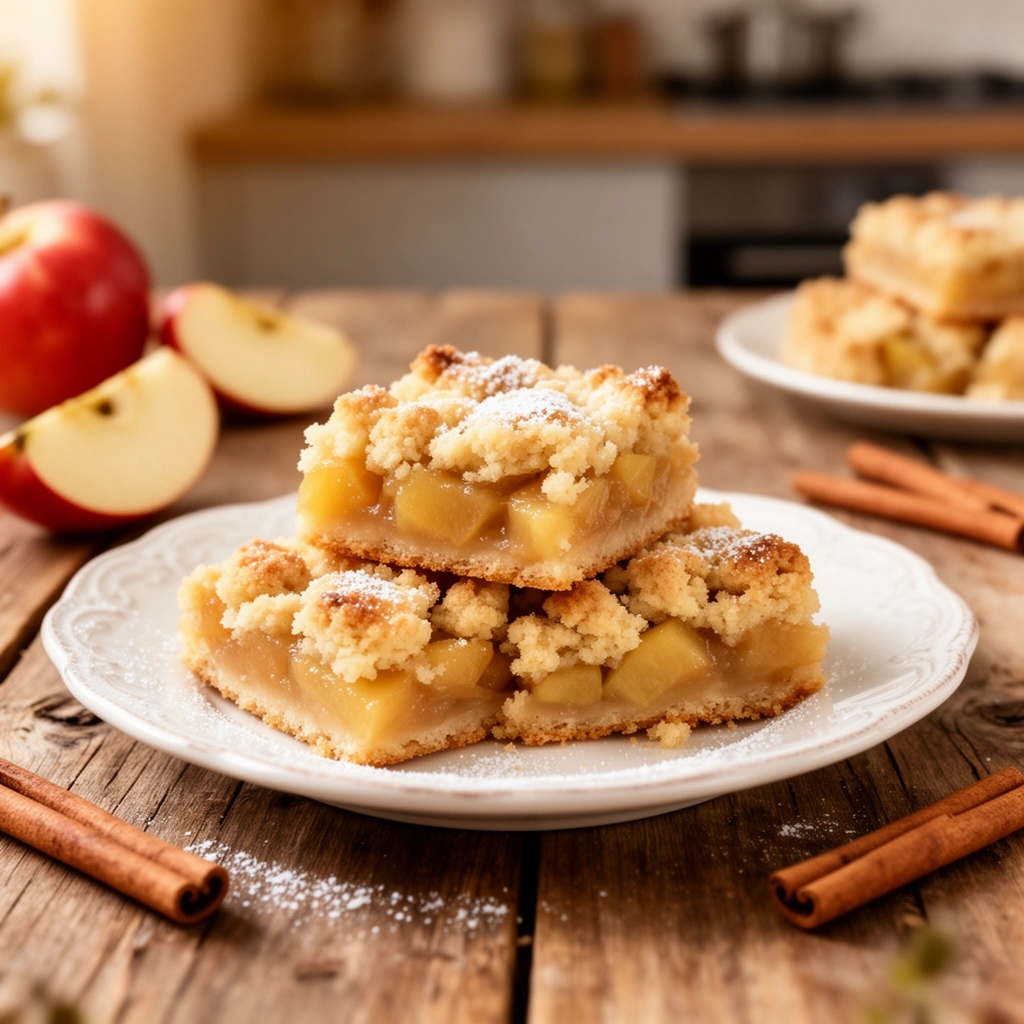
Apple crumble is one of those desserts that everyone loves but nobody can really transport anywhere. It’s a bowl-and-spoon situation delicious, but not exactly grab-and-go. These apple crumble bars solve that problem entirely. A buttery shortbread base, a cinnamon-spiced apple filling, and a brown sugar oat crumble on top, all baked into neat, sliceable bars that hold their shape and travel without drama.
Why These Apple Crumble Bars Work So Well
A lot of apple bar recipes skip a proper base and go straight into a single crumble mixture. That works fine, but it doesn’t give you the same layered experience as this version. Here, you get three distinct layers, each with its own texture and purpose and the result is noticeably better.
The Full Ingredients List
This recipe uses three separate components , base, filling, and topping , each with their own short ingredients list. Nothing here is hard to find or expensive to buy.
For the Shortbread Base
- 100g unsalted butter, softened
- 45g granulated sugar
- 125g plain flour
For the Apple Filling
- 2 large apples, peeled and sliced thinly
- 30g plain flour
- 30g granulated sugar
- 1 tsp cinnamon
For the Oat Crumble Topping
- 50g oats
- 80g light brown sugar
- ½ tsp cinnamon
- 40g plain flour
- 70g unsalted butter, cold and cubed
Notice that the base uses softened butter while the crumble topping uses cold and cubed butter , this is intentional and important. Softened butter in the base creates a smooth, pressed shortbread. Cold butter in the topping creates the crumbly, irregular texture you want on top. Using the wrong temperature for either will change the result significantly.
Prep and Equipment: Get Organised First
A little organisation before you start makes the whole process smoother. Here’s what to sort before touching anything:
- Preheat your oven to 150°C fan for the initial base bake
- Line your baking tin with parchment paper with overhang on two sides , you’ll need this to lift the bars out cleanly after refrigerating
- Soften your butter for the base , leave it at room temperature for 30–45 minutes ahead of time
- Keep the crumble topping butter in the fridge until the moment you need it
- Peel and slice your apples thinly and evenly , thin slices bake more evenly and layer more neatly in the filling
The tin size isn’t specified here, but a standard 8×8 inch square tin works well for this quantity and produces bars with a good ratio of base to filling to topping.
How to Make Apple Crumble Bars: Step-by-Step
Step 1: Make and Bake the Shortbread Base
Beat together the 100g softened unsalted butter and 45g granulated sugar until pale and fluffy. Add the 125g plain flour and mix until a smooth dough comes together. Press it evenly and firmly into your lined tin , use the back of a spoon or the base of a glass to smooth it flat.
Bake at 150°C fan for 15 minutes. The base should look just set with no colour yet , you’re par-baking it here, not fully baking it. Remove it from the oven and turn the temperature up to 170°C fan while you prepare the filling and topping.
Step 2: Prepare the Apple Filling
Peel and slice your 2 large apples thinly , the thinner the better for even cooking. In a bowl, toss the sliced apple with 30g plain flour, 30g granulated sugar, and 1 tsp cinnamon until every slice gets an even coating.
The flour here serves the same purpose as cornstarch in other bar recipes , it absorbs the moisture released by the apples as they bake and helps the filling set rather than turning watery. Don’t skip it.
Step 3: Make the Oat Crumble Topping
In a separate bowl, combine the 50g oats, 80g light brown sugar, ½ tsp cinnamon, and 40g plain flour. Add the 70g cold, cubed unsalted butter and use your fingertips to rub it into the dry ingredients until the mixture forms rough, irregular clumps.
Work quickly with cold fingers. The goal is a crumble with varied texture , some larger chunks, some finer bits. If the butter starts warming up, refrigerate the mixture for 10 minutes before continuing. Warm butter will blend too smoothly and you’ll lose the crumble texture entirely.
Step 4: Assemble the Bars
Layer the cinnamon-coated apple slices evenly over the par-baked shortbread base. Arrange them in a single, even layer so every bar gets a fair share of apple. Then scatter the oat crumble topping generously and evenly over the apple layer , don’t press it down, just let it sit loosely so it crisps up properly in the oven.
Step 5: Bake at 170°C Fan for 30 Minutes
Return the tin to the oven (now at 170°C fan) and bake for 30 minutes, until the crumble topping turns a deep golden brown and the apple filling softens and bubbles around the edges. The higher temperature here ensures the topping caramelises properly and the apples cook through.
Step 6: Cool Completely, Then Refrigerate
Allow the bars to cool fully in the tin at room temperature , don’t rush this. Once completely cool, refrigerate for at least 2 hours before lifting out and slicing. The chilling step firms up the shortbread base and sets the apple filling so you get clean, structured bars when you cut them.
The Best Apples to Use for This Recipe
Apple choice genuinely affects the final result, so it’s worth thinking about. Not all apples behave the same way in the oven.
Apples That Work Well
- Bramley apples , the classic British cooking apple; tart, breaks down to a soft filling, and pairs beautifully with cinnamon and brown sugar
- Granny Smith , firm, tart, holds its shape well during baking, gives you more texture in the filling
- Braeburn , a good middle-ground apple; slightly sweet, holds its shape, and has good flavour when baked
- Cox , softer texture, sweeter flavour, works well if you want a less tart filling
Apples to Avoid
- Red Delicious , too soft, turns mushy almost immediately in the oven
- Fuji , too sweet and doesn’t break down enough; the filling ends up too firm
- Very large supermarket apples with thick skins , peel them carefully and slice evenly for best results
IMO, Granny Smith is the best call for this recipe. The tartness holds up against the sweetness of the brown sugar topping, and the firm texture means the apple slices stay distinct rather than blending into a mush.
Why the Two-Temperature Bake Matters
The two-temperature approach in this recipe , 150°C fan for the base, then 170°C fan for the full assembly , isn’t just a quirk. It solves a real problem.
If you bake everything together at one temperature from the start, the shortbread base tends to undercook because the apple filling on top insulates it from the heat. You end up with a pale, slightly doughy base that doesn’t hold up when you slice the bars.
By par-baking the base first, you give it a head start. It sets properly, develops a little colour, and firms up enough to support the weight of the apple filling and crumble topping without going soft. Then the higher temperature for the second bake ensures the crumble topping caramelises and the apples cook through fully.
It takes an extra 15 minutes of active time, but the result is a noticeably better bar.
Tips for Perfect Apple Crumble Bars
A few things I’ve picked up from making these regularly:
- Slice apples thinly and evenly , uneven slices mean uneven cooking. Aim for about 3–4mm thickness
- Don’t skip the flour in the apple filling , it’s what stops the filling from turning watery and making the base soggy
- Keep the crumble butter cold , if your kitchen is warm, refrigerate the crumble mixture for 10 minutes before scattering it over the filling
- Let the bars cool completely before refrigerating , putting warm bars in the fridge creates condensation and can make the base soggy
- Refrigerate for the full 2 hours minimum , this is what gives you clean slices. Cutting too early means the layers slide around
Storage
- Store in an airtight container in the fridge for up to 4 days
- These bars freeze well for up to 2 months , wrap individually and thaw in the fridge overnight
- Serve at room temperature or slightly chilled , straight from the fridge works well too
Apple Crumble Bars vs. Classic Apple Crumble: A Real Comparison
| Apple Crumble Bars | Classic Apple Crumble | |
|---|---|---|
| Portability | Excellent | Poor |
| Prep time | Medium | Low |
| Distinct layers | Yes (3 layers) | No |
| Sliceable | Yes | No |
| Shelf life | 4 days (fridge) | 2 days |
| Serve with spoon | No | Yes |
Classic apple crumble wins on simplicity , fewer steps, fewer bowls, and it’s on the table faster. But these bars win on portability, presentation, and shelf life. They’re the version you make when you want something you can actually share at a gathering, pack in a lunchbox, or plate up without looking like you’re serving it with a shovel.
Variations to Try
Once you’ve got the base recipe down, here are a few ways to keep things interesting:
- Apple and pear: Replace one of the apples with a firm pear like Conference , it softens beautifully and adds a subtle floral sweetness
- Apple and blackberry: Scatter 100g blackberries over the apple layer before adding the crumble topping , the tartness pairs brilliantly with the cinnamon
- Salted caramel drizzle: Drizzle shop-bought salted caramel over the cooled bars before serving , sounds indulgent, tastes incredible
- Nutmeg addition: Add ¼ tsp ground nutmeg to the apple filling alongside the cinnamon for a warmer, more complex spice flavour
- Pecan crumble: Stir 40g roughly chopped pecans into the crumble topping for extra crunch and a nutty depth
FYI, the apple and blackberry version is something I stumbled into when I had leftover blackberries that needed using. It’s become a firm favourite , the blackberries turn jammy and sharp against the sweet crumble, and the colour contrast when you cut the bars is genuinely beautiful.
Final Thoughts: Apple Crumble, Upgraded
These apple crumble bars take everything you love about a classic apple crumble , the cinnamon spice, the buttery oat topping, the soft apple filling , and put it into a format you can actually slice, share, and serve without a bowl. The shortbread base adds structure, the spiced apple filling delivers on flavour, and the brown sugar oat crumble gives you that caramelised, golden finish that makes the whole thing irresistible.
Make them, refrigerate them properly, and cut them into whatever size suits the occasion. Just don’t be surprised when someone asks for the recipe before the plate is even empty
9
servings25
minutes45
minutes295
kcalIngredients
100g unsalted butter, softened
45g granulated sugar
125g plain flour
2 large apples, peeled and sliced thinly
30g plain flour
30g granulated sugar
1 tsp cinnamon
50g oats
80g light brown sugar
1/2 tsp cinnamon
40g plain flour
70g unsalted butter, cold and cubed
Directions
- Preheat the oven to 150°C fan and line an 8×8 inch square tin with parchment paper, leaving overhang on two sides.
- Beat together the softened butter and granulated sugar until pale and fluffy. Add the flour and mix until a smooth dough forms.
- Press the dough evenly and firmly into the prepared tin.
- Bake the base for 15 minutes, until just set with no colour. Remove from the oven and increase the temperature to 170°C fan.
- While the base bakes, peel and thinly slice the apples.
- Toss the sliced apples with the flour, granulated sugar, and cinnamon until evenly coated.
- In a separate bowl, combine the oats, brown sugar, cinnamon, and flour. Add the cold cubed butter and rub it in with your fingertips until crumbly.
- Spread the apple filling evenly over the baked base, then scatter the crumble topping over the apples.
- Bake for 30 minutes, or until the topping is golden and the apples are tender.
- Allow the bars to cool completely, then refrigerate before lifting out and slicing into squares.
Notes
- For clean slices, chill the bars well before cutting. Store covered in the fridge for up to 4 days, or freeze tightly wrapped for longer storage.