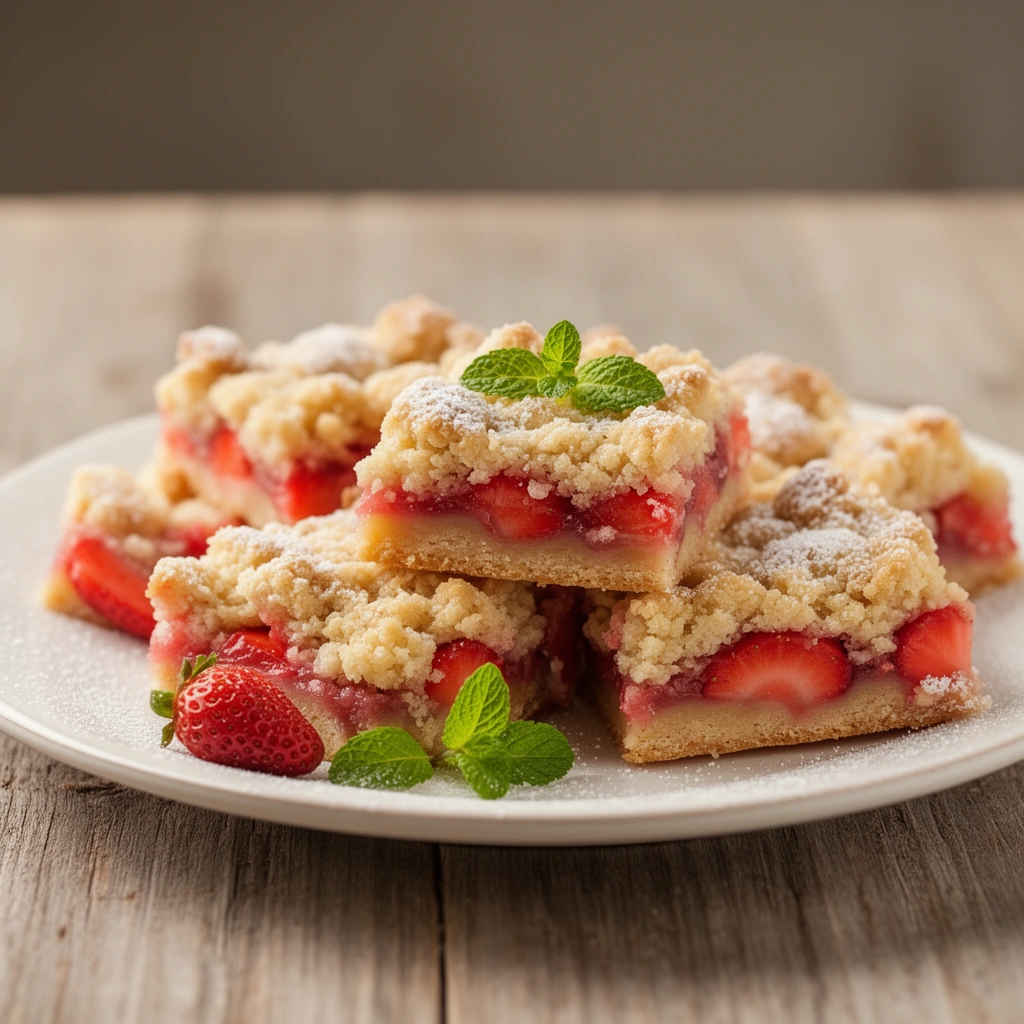

Strawberry season deserves better than just strawberries and cream. Don’t get me wrong that combination is a classic for a reason but when you have a punnet of ripe strawberries and an oven, these strawberry crumble bars are where things get genuinely exciting. A buttery lemon-scented oat base, a jammy strawberry filling that bubbles and sets as it bakes, and a generous crumble topping that goes golden and slightly crisp. All of it in one 8-inch pan.
What Makes These Strawberry Crumble Bars Worth Making
The crumble bar world has a lot of good options , blueberry, raspberry, apple. But strawberry crumble bars occupy a specific and brilliant niche. Fresh strawberries have a sweetness and a fragrance that other fruits don’t, and when they bake into a filling, they turn gloriously jammy and concentrated in flavour.
The Ingredients You’ll Need
Everything here is approachable and easy to source. The lemon adds brightness throughout, and the powdered sugar in the base gives it a slightly finer, more tender crumb than granulated sugar would.
For the Crumble Base and Topping
- 1⅔ cups / 200g all-purpose flour
- 1 cup / 100g oats
- ¾ cup / 150g powdered sugar
- Zest of 1 lemon, finely grated
- 6 oz / 170g unsalted butter, melted
For the Strawberry Filling
- 14 oz / 400g strawberries, hulled and sliced
- 1 tsp lemon juice
- 1½ tbsp cornstarch
You’ll also need: an 8-inch square baking pan, lined with parchment paper.
A note on the sugar , powdered sugar gives the crumble base a more delicate, melt-in-the-mouth texture compared to granulated. It blends more easily into the melted butter too. Don’t swap it out if you can help it , the texture difference is noticeable.
Equipment and Prep: Set Yourself Up Right
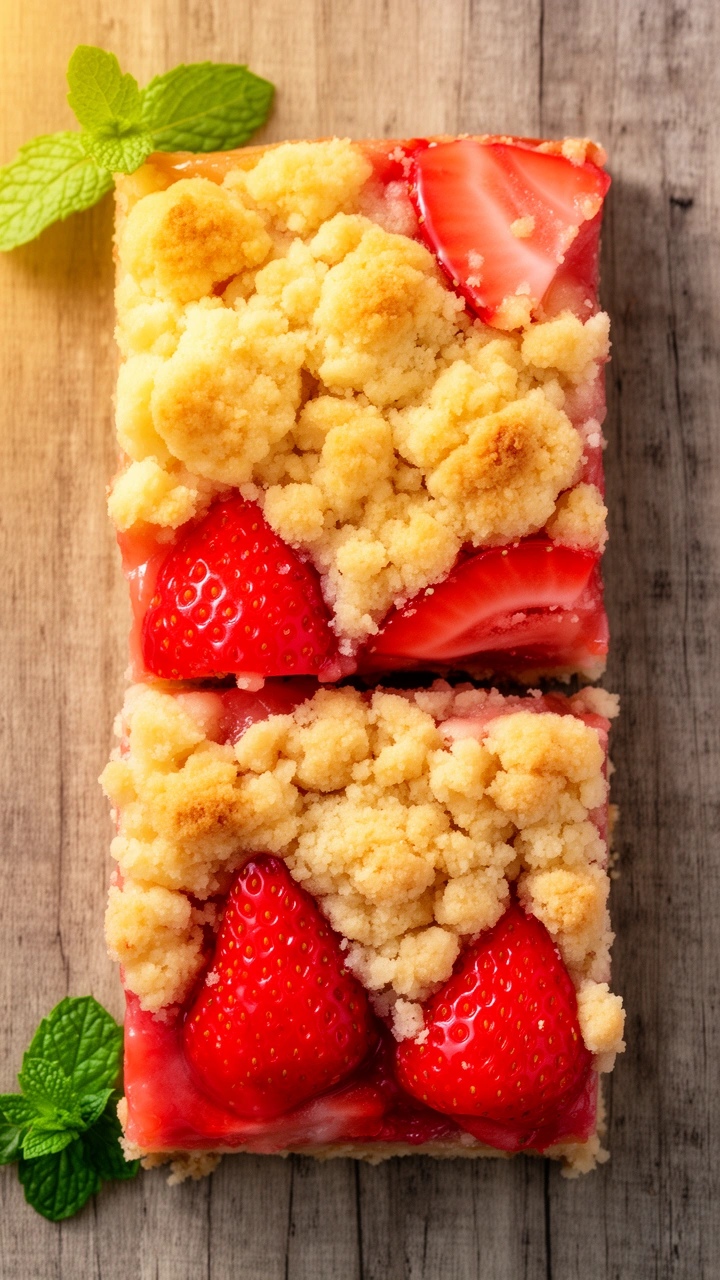
Before you start combining anything, get these sorted:
- Preheat your oven to 350°F / 180°C
- Line your 8-inch square pan with parchment paper, leaving overhang on two sides for easy removal
- Hull and slice your strawberries , around 5–6mm slices work well and cook through without disappearing entirely
- Have your lemon ready , you’ll need the zest for the base and the juice for the filling; always zest before you juice
The parchment overhang is non-negotiable here. Strawberry crumble bars have a soft, jammy filling that sticks to unlined tins with real conviction , and no amount of enthusiasm with a spatula fixes that situation gracefully.
How to Make Strawberry Crumble Bars: Step-by-Step
Step 1: Make the Crumble Dough
In a large bowl, combine the 200g flour, 100g oats, 150g powdered sugar, and lemon zest. Stir until evenly mixed. Add the 170g melted unsalted butter and mix with a spatula until the mixture comes together into a crumbly dough that clumps when pressed. Don’t add more butter if it looks dry at first keep mixing and it’ll come together.
Step 2: Press the Base and Freeze the Topping
Take roughly two-thirds of the crumble dough and press it firmly into the bottom of your lined pan. Use the back of a spoon or the base of a cup to pack it down flat and even. Apply real pressure , a firmly pressed base holds its shape when you slice the bars.
Place the remaining one-third of the dough in the freezer while you prepare the filling. This keeps the butter cold and firm, giving you better crumble texture on top.
Step 3: Make the Strawberry Filling
In a separate bowl, toss the 400g hulled and sliced strawberries with 1 tsp lemon juice and 1½ tbsp cornstarch. Stir until every slice is evenly coated. The cornstarch thickens the strawberry juices as they bake, turning the filling from a runny pool of fruit into a set, jammy layer that holds together when sliced.
Step 4: Assemble
Spread the strawberry filling evenly over the pressed base, distributing the slices in an even layer. Then retrieve your reserved dough from the freezer and pinch it between your fingers to create irregular crumble pieces over the top. You want variety , some larger chunks, some finer crumbs , so the topping has that characteristic rough, textured look. Don’t press it down.
Step 5: Bake
Bake at 350°F / 180°C for approximately 45 minutes, until the crumble topping turns lightly golden and you can see the strawberry filling bubbling around the edges. Cool completely in the pan before lifting out and cutting. For the cleanest cuts, cool to room temperature, then refrigerate for an hour before slicing.
Cutting, Storing, and Serving
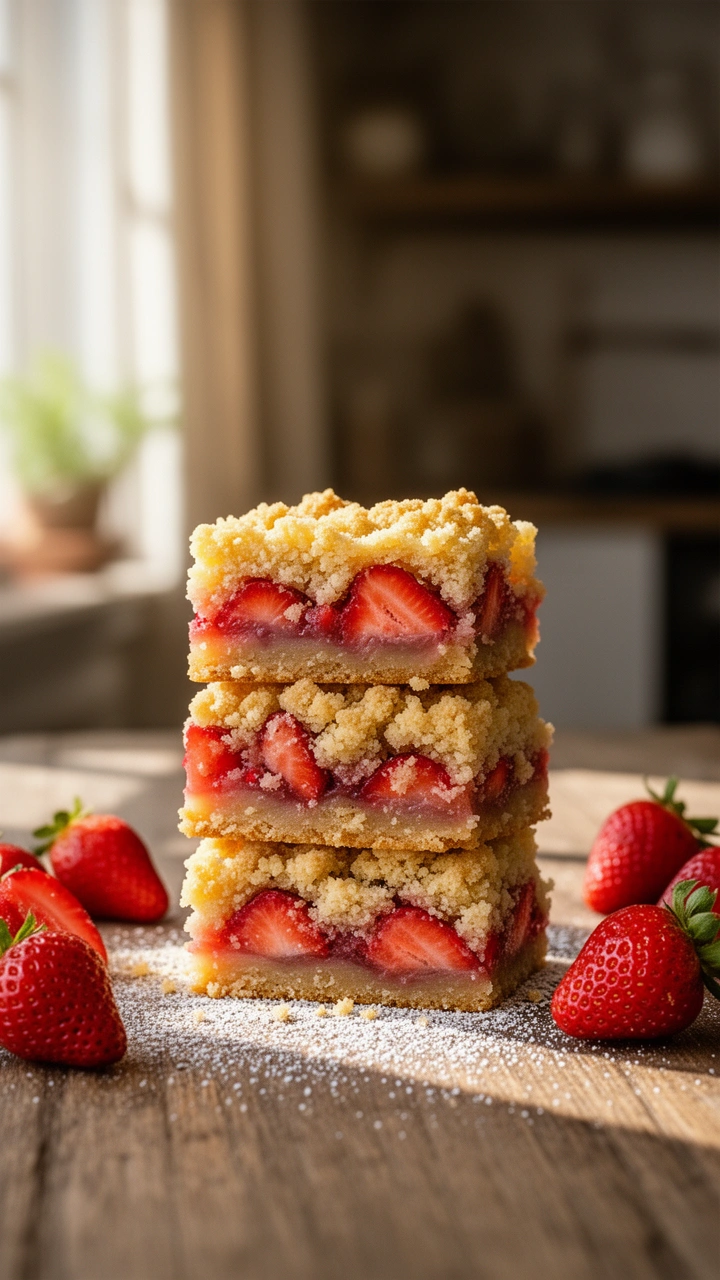
Once your bars have cooled and chilled, here’s everything you need to know about getting the best out of them:
- Cut into 9 larger squares for a generous dessert portion or 16 smaller pieces for a sharing platter or afternoon tea
- Use a sharp knife and wipe it clean between cuts for neat, professional-looking edges
- Store in the refrigerator in an airtight container for up to 4 days , the cold keeps the filling set and the base firm
- These bars freeze well for up to 2 months; wrap individual pieces and thaw overnight in the fridge
- Serve chilled or at room temperature , both work beautifully depending on the occasion
FYI, these bars actually taste better on day two once the flavours have had time to settle and the filling firms up a little more. If you can wait, it’s worth it.
Fresh vs. Frozen Strawberries: Which Works Better Here?
Unlike some crumble bar recipes where frozen fruit is the better call, fresh strawberries genuinely outperform frozen in this recipe. Here’s why:
- Fresh strawberries hold their structure better during baking, giving the filling visible, distinct pieces
- The flavour of fresh strawberries is brighter, more floral, and more complex , especially at peak season
- Fresh strawberries release moisture more gradually, which gives the cornstarch time to set the filling properly
- Frozen strawberries release a large amount of water very quickly, which risks a soggy base even with cornstarch
If fresh strawberries aren’t available, frozen can work in a pinch. Thaw them fully and drain off the excess liquid before tossing with the cornstarch, and increase the cornstarch slightly to 2 tablespoons to compensate.
Variations to Try Once You’ve Nailed the Base
The base recipe is brilliant as is, but here are a few directions to take it:
- Strawberry and rhubarb: Replace 150g of the strawberries with thinly sliced rhubarb , tart, complex, and genuinely spectacular
- Strawberry and vanilla: Add 1 tsp vanilla extract to the melted butter before mixing into the dry ingredients for a warmer, more rounded flavour
- Strawberry and basil: Toss a few finely shredded fresh basil leaves in with the strawberry filling , sounds unusual, tastes incredible
- White chocolate drizzle: Drizzle melted white chocolate over the cooled bars for extra sweetness and a prettier finish
- Mixed berry version: Replace half the strawberries with raspberries for a sharper, more complex berry filling
IMO, the strawberry and rhubarb version is the one to try first. The rhubarb sharpness against the sweet strawberry filling and buttery lemon crumble is genuinely hard to beat.
Strawberry Crumble Bars vs. Other Strawberry Bakes: An Honest Take
| Strawberry Crumble Bars | Strawberry Shortcake | Strawberry Tart | |
|---|---|---|---|
| Portability | Excellent | Poor | Moderate |
| Difficulty | Easy | Medium | High |
| Shelf life | 4 days (fridge) | 1–2 days | 2–3 days |
| Make-ahead | Yes | No | Yes |
Strawberry crumble bars win on practicality every time. They’re the bake you make when you want something genuinely impressive without pastry skills, specialist equipment, or the pressure of serving immediately. They store well, travel well, and suit every occasion from a garden party to a Tuesday afternoon.
Final Thoughts: Make These While Strawberries Are Good
Strawberry crumble bars sit at the intersection of easy and impressive , a combination that doesn’t come around often enough in baking. The lemon-scented oat crumble, the jammy strawberry filling, and that golden textured topping make every bite worth the 45 minutes of baking time.
Use fresh strawberries when they’re at their best, cool the bars properly before cutting, and store any leftovers in the fridge. Not that leftovers are likely to be a problem , these bars have a habit of vanishing faster than you’d expect.
9
servings20
minutes35
minutes320
kcalIngredients
1⅔ cups (200g) all-purpose flour
1 cup (100g) oats
¾ cup (150g) powdered sugar
Zest of 1 lemon
6 oz (170g) unsalted butter, melted
14 oz (400g) strawberries, hulled and sliced
1 tsp lemon juice
1½ tbsp cornstarch
Directions
- Preheat the oven to 350°F (180°C). Line an 8-inch square baking pan with parchment paper, leaving overhang on two sides.
- In a large bowl, mix together the flour, oats, powdered sugar, and lemon zest.
- Add the melted butter and stir until the mixture forms a crumbly dough that clumps when pressed.
- Press about two-thirds of the crumble mixture firmly and evenly into the bottom of the prepared pan.
- Place the remaining crumble mixture in the freezer while you make the filling.
- In another bowl, toss the sliced strawberries with the lemon juice and cornstarch until evenly coated.
- Spread the strawberry mixture evenly over the base.
- Pinch the chilled crumble mixture over the top in irregular pieces, leaving it loose and uneven.
- Bake until the topping is golden and the filling is bubbling and set, about 35 minutes.
- Let the bars cool completely in the pan before lifting out and slicing.
Notes
- Cool completely before slicing so the filling sets cleanly; store covered in the fridge for up to 4 days.

About the author
Written by Arman
Hi, I'm Muhammad Arman, a healthy food expert who is passionate about helping you build a better life through real, nourishing food. I share simple, practical tips and clean recipes because I truly believe that eating well should feel good, not complicated.
Published April 27, 2026 Updated May 27, 2026


