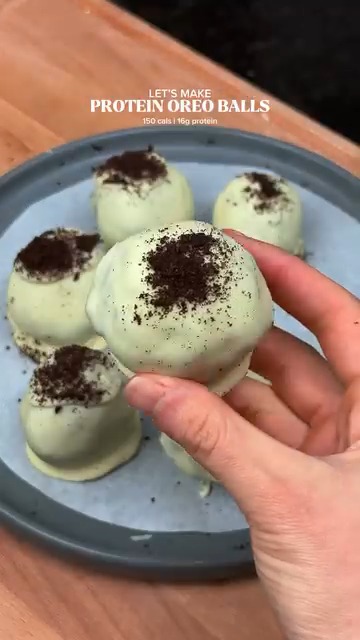
Let me paint you a picture. It’s 4 PM, you want something chocolatey, and your willpower is hanging by a thread. These Oreo Protein Balls are exactly what you need — and the best part? You probably have most of the ingredients sitting in your kitchen right now.
Six balls. Twenty minutes of actual work. A whole lot of satisfaction. Let’s get into it.
What Makes This Recipe Different
A lot of protein ball recipes out there read like a chemistry experiment. This one doesn’t. Six simple ingredients, one bowl, zero baking — that’s the whole deal.
What I love most about this recipe is how it balances indulgence with actual nutrition. The crushed Oreos give you that cookies-and-cream nostalgia hit, while the chocolate protein powder and oats do the heavy lifting on the macro side. And that white chocolate coating? Absolute game-changer.
The Ingredients (Makes 6 Balls)
Here’s everything you need — no surprises, no obscure health food store runs required.
For the Balls:
- 85g light cream cheese — the creamy binder that holds everything together
- 90g chocolate protein powder — I personally use Boutheina from @shopsantedc, and it works beautifully here
- 60g oats — adds texture, fiber, and keeps you full longer
- 20g unsweetened cocoa powder — deepens that chocolate flavor without adding sugar
- 20g crushed Oreos (about 2–3 cookies) — the flavor bomb of the whole recipe
- A splash of almond milk — added gradually to get the dough just right
For the Coating:
- ~100g white chocolate — melted and ready to transform these into something truly special
That white chocolate shell against the dark chocolate dough is a combo that genuinely works on every level. Don’t skip it. 🙂
How to Make Oreo Protein Balls
No mixer, no oven, no stress. Here’s exactly how to pull these together.
Step 1: Mix Your Dry Ingredients
Combine the protein powder, oats, cocoa powder, and crushed Oreos in a large bowl. Give everything a good stir so the cocoa and protein powder are evenly distributed throughout the oats.
This is also the moment to crush your Oreos if you haven’t already. A zip-lock bag and a rolling pin work perfectly — you want small, uneven crumbles, not a fine dust. That little bit of texture in the final ball is worth it.
Step 2: Add the Cream Cheese
Add your light cream cheese to the dry mixture and combine well. Use a fork or your hands — this is one of those recipes where getting your hands in there actually works better.
Make sure your cream cheese is at room temperature before you start. Cold cream cheese won’t incorporate properly and you’ll end up with lumps instead of a smooth dough. FYI, this one small detail makes a noticeable difference in the final texture.
Step 3: Add Almond Milk — Slowly
Add almond milk one spoonful at a time, mixing between each addition. You’re looking for a thick, sticky dough that holds its shape when pressed together.
This step requires a little patience. Add too much almond milk at once and the dough gets too wet to roll. Start conservative — you can always add more, but you can’t take it back.
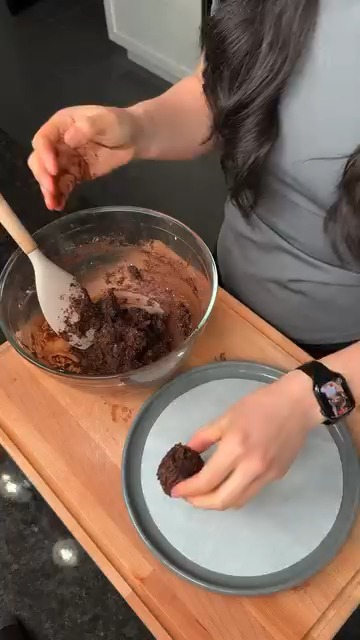
Step 4: Roll Into 6 Balls
Divide the dough into 6 equal portions and roll each one between your palms until smooth. They don’t need to be perfect — a little rustic actually looks great once they’re coated.
Place them on a parchment-lined tray and freeze for 1 hour. This step is non-negotiable. The balls need to be firm enough to survive the white chocolate coating process without falling apart or losing their shape.
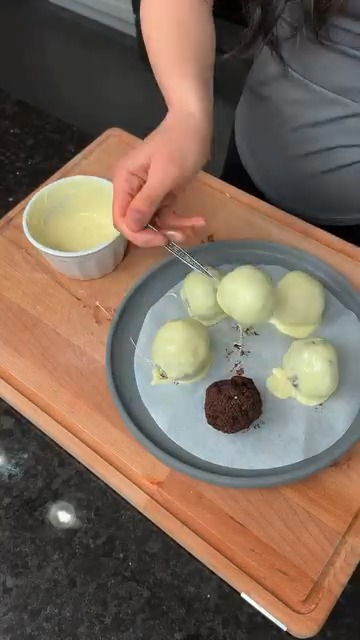
Step 5: Coat With White Chocolate
Melt your white chocolate in a microwave-safe bowl in 30-second intervals, stirring between each burst. Once smooth and fully melted, take your frozen balls straight from the freezer.
Dip or spoon the melted white chocolate over each ball, letting any excess drip off before placing them back on the parchment tray. Work quickly — the frozen balls will start to set the chocolate almost immediately, which is actually exactly what you want.
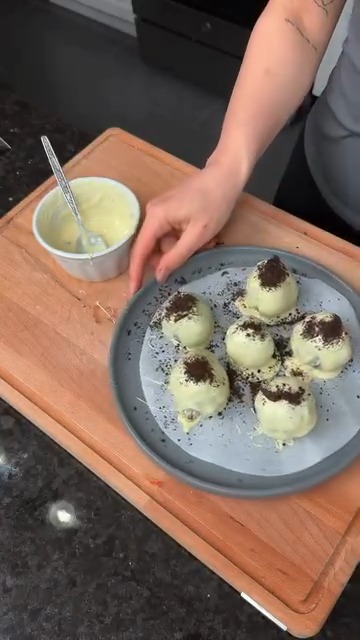
Step 6: Freeze Again and Enjoy
Pop the coated balls back in the freezer for another hour. Once that white chocolate shell is fully set, they’re ready to eat.
Bite through that crisp white chocolate shell into the dense, fudgy chocolate center — honestly, it’s a little moment of joy every single time. 🙂
Nutrition Snapshot (Per Ball, Approximate)
Based on the ingredients above, here’s a rough breakdown per ball:
- Calories: ~150–170
- Protein: ~10–12g
- Carbohydrates: ~12–15g
- Fat: ~6–8g
Six balls, roughly 60–70g of protein across the batch. That’s a serious return for something that tastes like dessert.
Tips to Get These Right Every Time
This recipe is forgiving, but a few small things make a real difference:
- Don’t rush the freeze time — both freezing steps matter. The first firms up the dough, the second sets the coating
- Use good white chocolate — since it’s the outer layer, the quality actually shows. A cheap compound chocolate will taste waxy
- Weigh your ingredients — especially the protein powder and oats, since different brands vary in density
- Keep them frozen or refrigerated — the white chocolate shell softens at room temperature, so store them in the fridge or freezer
Storing Your Oreo Protein Balls
These store really well, which makes them perfect for weekly meal prep:
- Refrigerator: Up to 5–6 days in an airtight container
- Freezer: Up to 2–3 months — just pull one out whenever you need it
- On the go: Take them straight from the freezer — they thaw in about 10 minutes and the texture is perfect
Why This Recipe Actually Works
IMO, the magic here comes down to balance. You’ve got:
- Oats for slow-releasing energy and texture
- Cocoa powder for deep chocolate flavor without the sugar load
- Light cream cheese for creaminess without going overboard on fat
- Crushed Oreos for that little hit of indulgence that makes the whole thing feel like a treat
- White chocolate coating for the satisfying snap and the visual appeal
Every ingredient earns its place. Nothing is there just for show.
Make These This Week
Oreo Protein Balls are the kind of recipe that quietly becomes a staple. You make them once, realize how easy they are, and suddenly you’re always keeping a batch in the freezer. Six balls, around 20 minutes of hands-on time, and a week’s worth of smart snacking sorted.
Whether you’re hitting the gym, running between meetings, or just trying to give yourself a better option when the sweet cravings hit — these deliver every time. Make a batch, share one or two (or don’t), and enjoy the fact that your snack is genuinely working for you.
Now go grab those Oreos. You’ve got some protein balls to make.
Leave a Reply