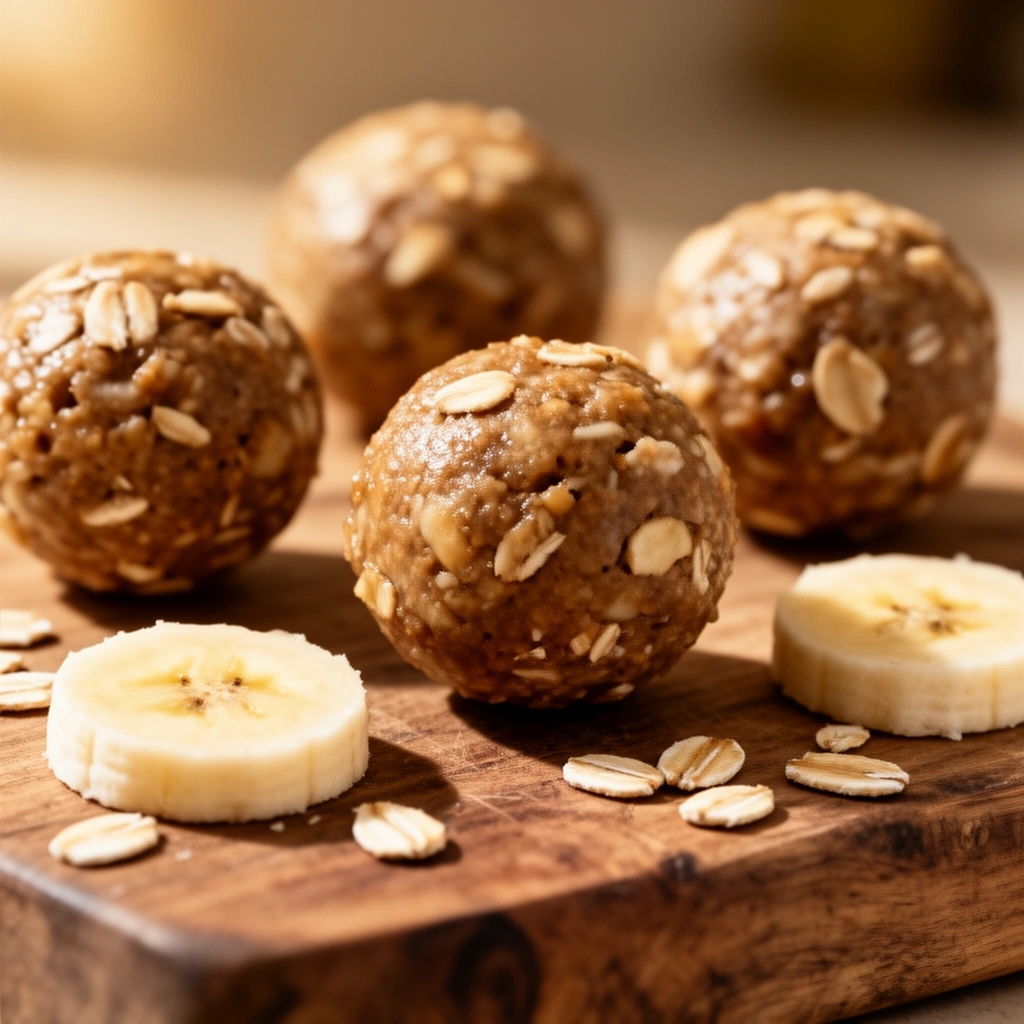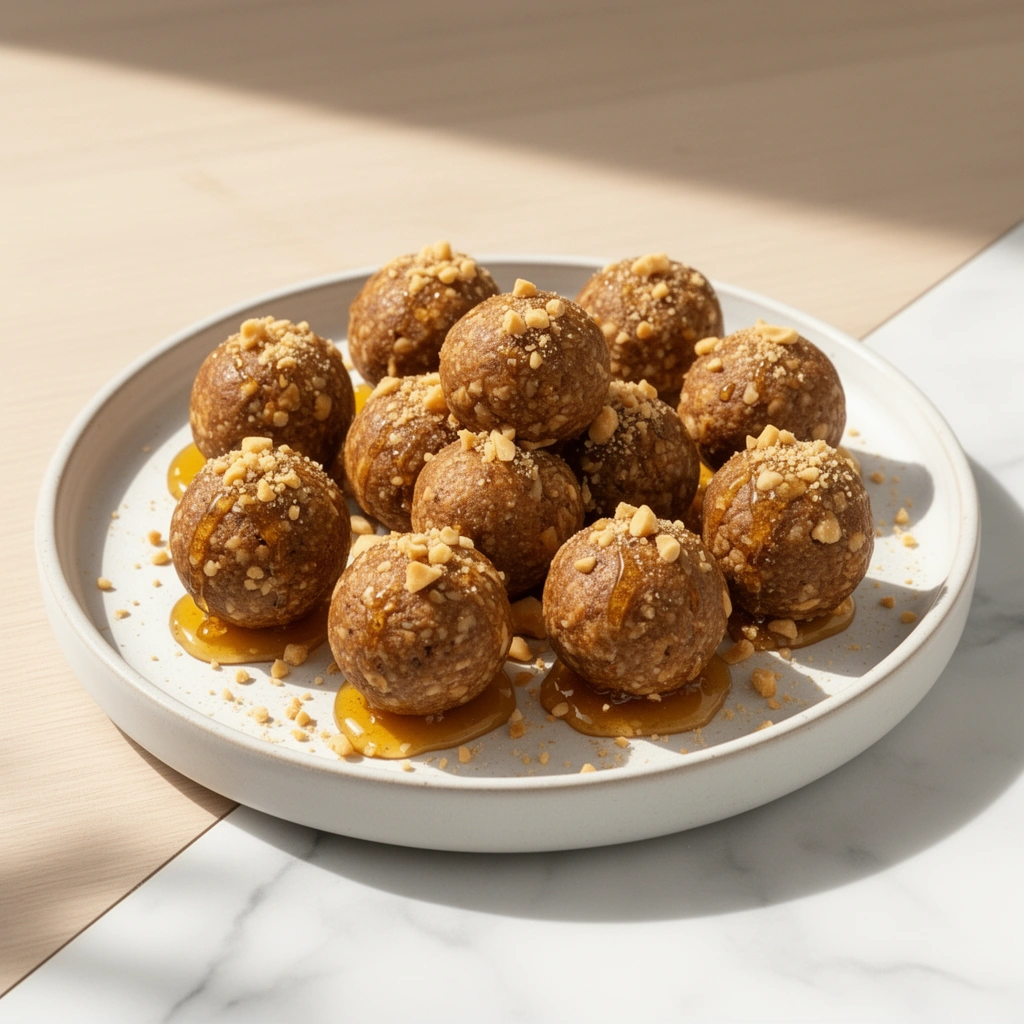

Let me be real with you , I used to think “healthy snacks” meant sad rice cakes and flavored cardboard. Then I made peanut protein balls for the first time, and something clicked. These little guys are genuinely delicious, and they take about 10 minutes of actual effort. If you’re chasing a high-protein snack that doesn’t taste like punishment, you’ve landed in the right place.
What Exactly Are Peanut Protein Balls?
Peanut protein balls are bite-sized, no-bake energy snacks made from whole, nutrient-dense ingredients. They pack protein, healthy fats, and slow-digesting carbs into one tidy little sphere. Think of them as the upgrade your gym bag deserves.
They sit somewhere between an energy bite and a protein bar , only without the mystery ingredients list. You make them with real food, you know exactly what goes in, and they actually taste good. That’s a win-win-win in my book.
Why People Love Them
- No baking required , your oven stays off, your life stays easy
- Portable and mess-free , perfect for gym bags, desk drawers, or after-school snacks
- Fully customizable , swap ingredients based on what you have
- Kid-friendly , my younger cousins devour these without knowing they’re “healthy”
The Ingredients: Simple, Powerful, Delicious
Here’s what makes these protein balls work. Every single ingredient pulls its weight , no filler, no fluff.
The Core Five Ingredients
1. Roasted Peanuts , 1 cup Peanuts bring the protein. One cup delivers roughly 37g of protein, plus healthy monounsaturated fats that keep you full between meals. Use roasted peanuts for a deeper, nuttier flavor , raw peanuts work too, but the taste doesn’t hit quite as hard.
2. Medjool Dates , 1 cup, pitted Dates act as the natural binder and sweetener here. They’re sticky, caramel-like, and loaded with fiber. Skip the refined sugar , dates do everything you need and then some. Medjool dates blend the smoothest, but any soft dates will get the job done.
3. Peanut Butter , 2 tablespoons This is the glue that holds everything together AND amplifies the peanut flavor. Use a natural, no-added-sugar peanut butter for best results. The kind where the oil separates at the top? That’s the good stuff. Stir it well before measuring.
4. Rolled Oats , ½ cup Oats add structure and a subtle chewiness that makes these feel more satisfying. They also contribute fiber and slow-release carbs , great for sustained energy. Use old-fashioned rolled oats, not instant; the texture is noticeably better.
5. Honey , 1–2 tablespoons Honey ties the whole flavor profile together and adds just enough sweetness to make these feel like a treat rather than a chore. Raw honey works especially well here , richer flavor, and a few extra antioxidants as a bonus.
How to Make Peanut Protein Balls

No special skills required. Seriously, if you can press a button on a blender, you’ve got this.
Equipment You’ll Need
- Small blender or food processor
- Baking sheet or plate lined with parchment paper
- Freezer
Step-by-Step Instructions
Step 1: Add everything to your blender Toss in the peanuts, pitted dates, peanut butter, rolled oats, and honey. Don’t overthink the order , it all ends up in the same place.
Step 2: Blend until the mixture comes together Pulse first to break things down, then blend on medium-high until the mixture forms a thick, sticky dough. You’re looking for a consistency that holds together when you press it between your fingers. If it’s too dry, add a tiny splash of water or an extra teaspoon of peanut butter. If it’s too wet, add a few more oats.
Step 3: Roll into balls Scoop out roughly 1–1.5 tablespoons per ball and roll between your palms. Slightly wet hands help prevent sticking. Aim for about 12–15 balls from this batch, depending on your preferred size.
Step 4: Freeze for 30 minutes to 1 hour Place the balls on your lined baking sheet and pop them in the freezer. This step firms them up and gives them that satisfying, dense texture. Don’t skip the freeze , room-temperature balls are soft and a little sad.
Step 5: Enjoy Pull them out, let them sit for 2–3 minutes, and go to town. Store leftovers in an airtight container in the fridge (up to a week) or freezer (up to 3 months).
The Nutrition Breakdown: Why These Actually Work as a Protein Snack
Let’s talk numbers, because this is where peanut protein balls really shine.
Estimated Nutrition Per Ball (based on a 12-ball batch)
| Nutrient | Amount (approx.) |
|---|---|
| Calories | 110–130 kcal |
| Protein | 4–5g |
| Healthy Fats | 6–7g |
| Carbohydrates | 12–14g |
| Fiber | 2g |
| Sugar (natural) | 7–8g |
FYI , these numbers shift slightly depending on your peanut butter brand and how sweet your dates are. But broadly speaking, you’re getting a solid protein-to-calorie ratio from whole food ingredients, which is exactly what you want in a snack.
How They Stack Up Against Store-Bought Protein Bars
IMO, homemade protein balls beat most packaged bars hands down. Here’s why:
- No artificial sweeteners , no weird aftertaste
- No mystery fillers or isolates , just real food
- Cheaper per serving , significantly, once you do the math
- Fresher taste , a packaged bar sitting on a shelf for 12 months can’t compete
Customizing Your Peanut Protein Balls
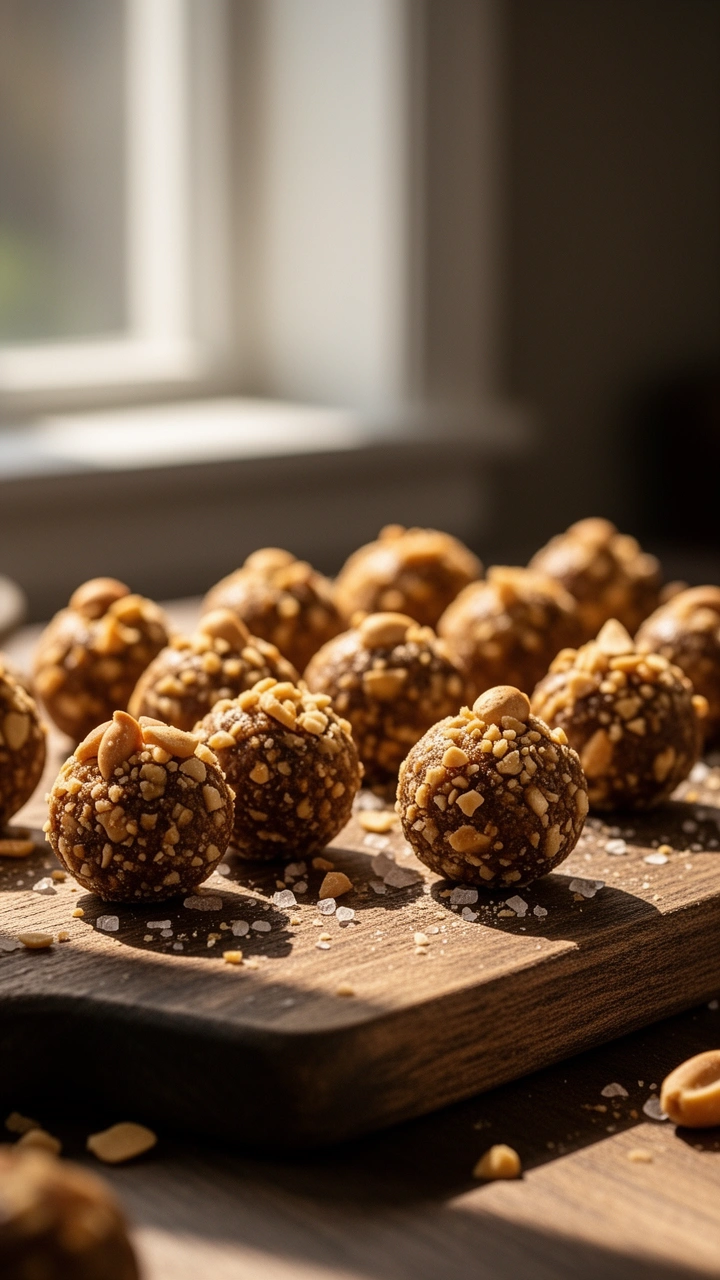
Once you nail the base recipe, the variations are endless. Here are some easy add-ins that work beautifully:
Flavor Boosters
- Dark chocolate chips , 2 tablespoons stirred in before rolling
- Chia seeds , 1 tablespoon for extra omega-3s and a subtle crunch
- Vanilla extract , ½ teaspoon blended in for a warmer, dessert-like flavor
- Cinnamon , ¼ teaspoon adds warmth and pairs perfectly with the honey
- Shredded coconut , roll finished balls in it for texture and flavor
Protein Boosters
Want to pump the protein even higher? Try folding in one scoop of unflavored or vanilla protein powder before rolling. It thickens the mixture slightly, so you may need to add an extra teaspoon of honey to keep everything binding properly.
Common Mistakes to Avoid
Even a recipe this simple has a few pitfalls. Here’s what I learned the hard way so you don’t have to.
The Blend Isn’t Long Enough
If your dates aren’t fully blended, the mixture won’t bind properly and your balls will crumble. Blend longer than you think you need to , you want a smooth, cohesive dough, not chunky pieces.
Skipping the Freeze
Room temperature balls are too soft and tend to flatten in your hand. The freeze step is non-negotiable. Even 30 minutes makes a dramatic difference in texture.
Using Sweetened Peanut Butter
Dates and honey already bring sweetness. Using a sweetened or flavored peanut butter can tip the whole recipe into “too sweet” territory. Stick with natural peanut butter and adjust honey to taste at the end.
Making Them Too Big
Smaller balls (about the size of a large marble) are easier to eat and give you better portion control. Plus, they look more impressive , aesthetics matter!
When to Eat Peanut Protein Balls
These work in basically every scenario where you need quick, sustained energy.
- Pre-workout , eat 1–2 balls about 30–45 minutes before training for steady fuel
- Post-workout , the protein and carbs support muscle recovery
- Mid-afternoon slump , a solid alternative to the vending machine
- On-the-go breakfast , grab 2–3 and you’ve got a real start to the day
- Kids’ lunchboxes , they never need to know these are good for them
Frequently Asked Questions
Can I make these nut-free?
Absolutely. Swap peanuts for sunflower seeds and peanut butter for sunflower seed butter. The flavor changes, but the texture stays consistent.
How long do peanut protein balls last?
In the fridge, they stay fresh for up to 7 days in an airtight container. In the freezer, they last up to 3 months. Pull them out as needed , they thaw in minutes.
Do I need a high-powered blender?
Not necessarily. A standard food processor handles this mixture well. If using a regular blender, soak your dates in warm water for 10 minutes first to soften them , this makes blending much easier on the motor.
Can I use quick oats instead of rolled oats?
You can, but the texture will be slightly softer and less chewy. Rolled oats give a better mouthfeel overall. If quick oats are all you have, they’ll still work , just expect a slightly denser result.
Final Thoughts: Make a Batch This Week
Peanut protein balls check every box , easy to make, genuinely tasty, nutritious, and portable. You don’t need special equipment, exotic ingredients, or any real cooking skill. You need a blender, five ingredients, and a freezer.
Whether you’re fueling workouts, tackling afternoon hunger, or just trying to eat smarter without misery, these deliver. Make a double batch on Sunday and you’ll have snacks sorted for the entire week. Your future self , standing in the kitchen at 3pm trying not to eat straight from the peanut butter jar , will thank you.
12
servings15
minutes30
minutes120
kcalIngredients
1 cup roasted peanuts
1 cup Medjool dates, pitted
2 tablespoons peanut butter, stirred well if natural
1/2 cup rolled oats
1 to 2 tablespoons honey
Directions
- Add the peanuts, pitted dates, peanut butter, rolled oats, and honey to a small blender or food processor.
- Pulse first, then blend until the mixture becomes a thick, sticky dough that holds together when pressed between your fingers. Add a tiny splash of water if too dry, or a little more oats if too wet.
- Scoop out about 1 to 1.5 tablespoons of mixture per ball and roll between your palms into 12 to 15 balls.
- Place the balls on a parchment-lined plate or baking sheet and freeze for 30 minutes to 1 hour until firm.
- Enjoy chilled, or let sit for 2 to 3 minutes before eating. Store leftovers in an airtight container in the fridge or freezer.
Notes
- Slightly wet hands make rolling easier; store in the fridge for up to 1 week or freeze for up to 3 months.

About the author
Written by Arman
Hi, I'm Muhammad Arman, a healthy food expert who is passionate about helping you build a better life through real, nourishing food. I share simple, practical tips and clean recipes because I truly believe that eating well should feel good, not complicated.
Published April 21, 2026 Updated June 1, 2026