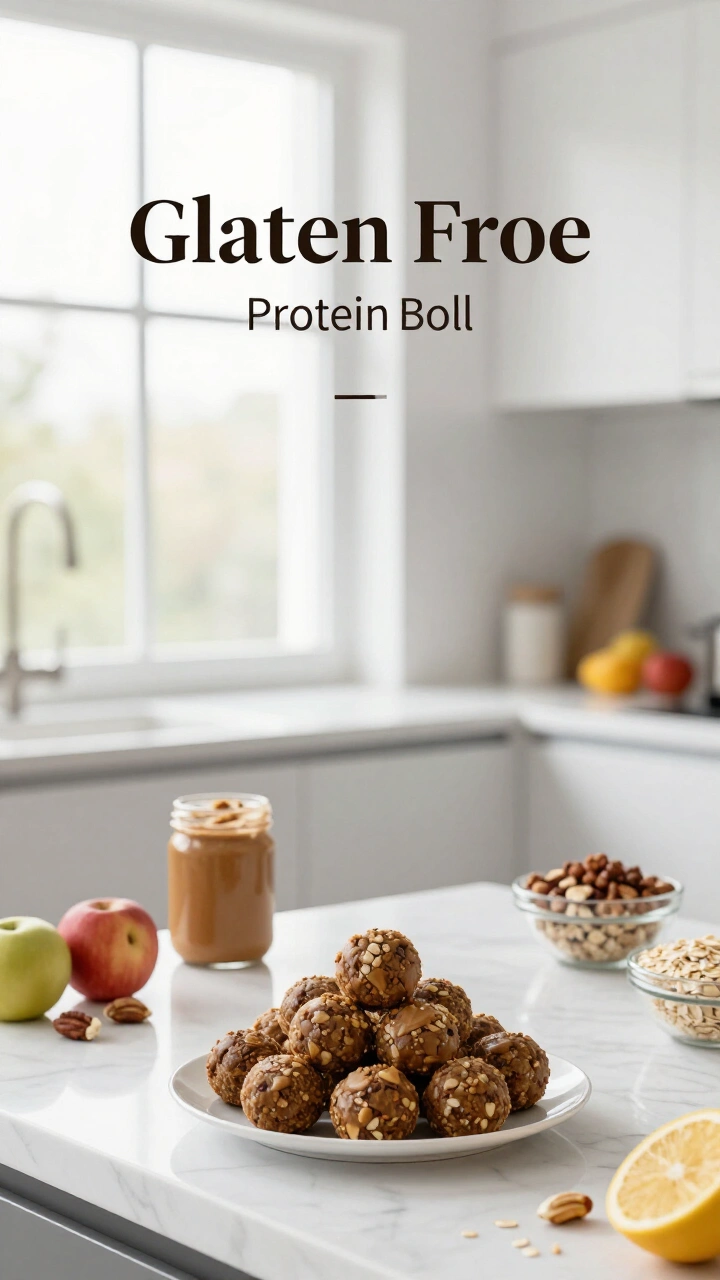
Gluten Free Protein Balls Recipe

Why You’re Here (And Why You Should Stay)
If you’re tired of bland protein bars or snacks that taste like cardboard, stick around. I’ve got some tasty ideas for you.
The Benefits of Gluten Free Protein Balls
1. They’re Packed with Nutrients
These little guys are like a multivitamin in snack form. Depending on what you put in them, they can be loaded with healthy fats, fiber, and, of course, protein. Perfect for fueling your day or recovering after a workout.
2. They’re Super Convenient
Ever tried to eat a salad while driving? Yeah, not fun. Gluten free protein balls, on the other hand, are grab-and-go. Toss a few in a bag, and you’re set for the day.
3. They’re Customizable
Not a fan of almonds? Swap them for cashews. Want a chocolate fix? Add some cocoa powder. The beauty of these protein balls is that you can tweak the recipe to suit your taste buds.
4. They’re Cost-Effective
Let’s be real, those fancy protein bars can cost a small fortune. Making your own protein balls is way cheaper, and you know exactly what’s going into them. No mystery ingredients here.
How to Make Gluten Free Protein Balls
Alright, let’s get to the good stuff. Here’s a simple recipe to get you started. Feel free to tweak it, it’s hard to mess these up.
Ingredients:
– 1 cup gluten free oats
– 1/2 cup almond butter (or your favorite nut butter)
– 1/4 cup honey or maple syrup
– 1/4 cup protein powder (vanilla or chocolate works great)
– 1/4 cup mini chocolate chips (optional, but let’s be real, you want them)
– 1/4 cup chia seeds or flaxseeds
Instructions:
1. Mix everything in a bowl until it’s well combined. If it’s too dry, add a splash of almond milk.
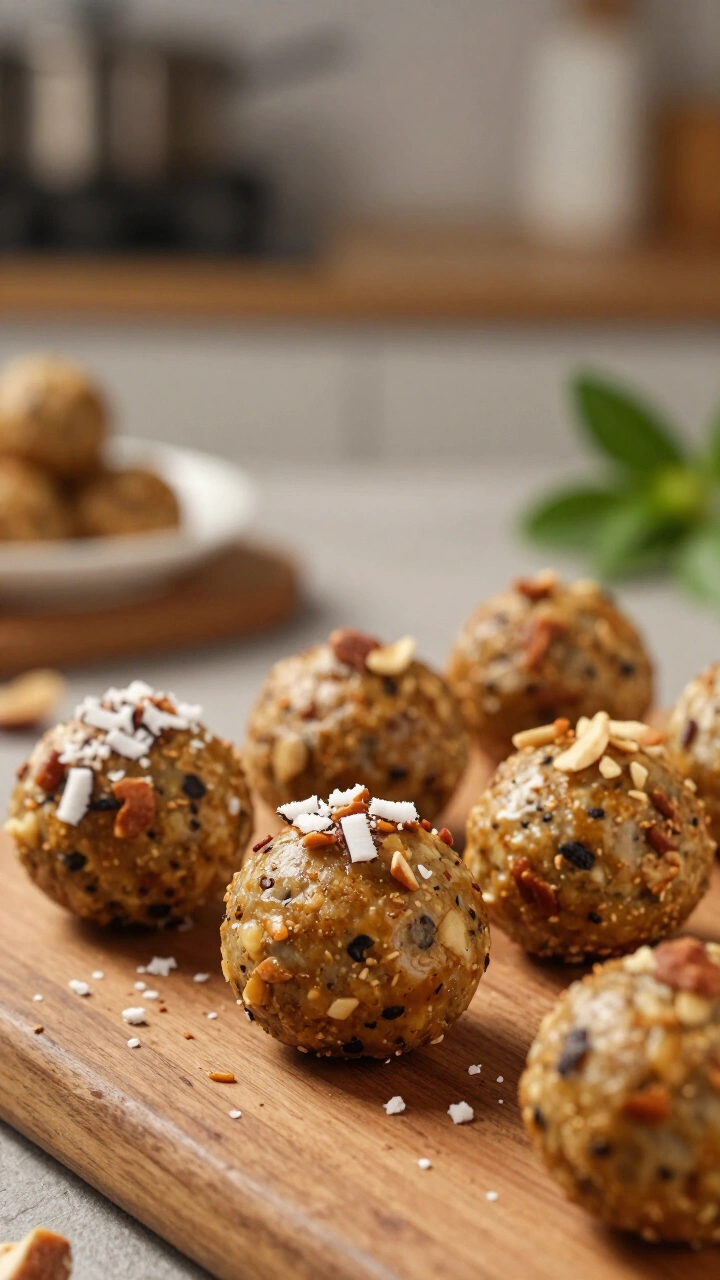
2. Roll the mixture into bite-sized balls. Pro tip: wet your hands slightly to make this less sticky.
3. Pop them in the fridge for about 30 minutes to firm up.
4. Enjoy! Store leftovers in an airtight container in the fridge for up to a week.
See? Easy peasy. And the best part? You can experiment with different flavors. Ever tried adding dried cranberries or coconut flakes? Game-changer.
Common Mistakes to Avoid
Before you go all-in on your protein ball journey, here are a few things to keep in mind:
1. Don’t Overdo the Sweetener
It’s tempting to add extra honey or syrup, but too much can make your balls (heh) too sticky and sweet. Stick to the recipe, and you’ll be fine.
2. Use Fresh Ingredients
Stale nuts or expired protein powder? Hard pass. Fresh ingredients make a huge difference in taste and texture.
3. Don’t Skip the Chill Time
I know it’s hard to wait, but chilling the balls helps them hold their shape. Trust me, it’s worth it.
Why You’ll Love Them
Look, I get it. Trying new snacks can feel like a gamble. But gluten free protein balls are a safe bet. They’re healthy, delicious, and ridiculously easy to make. Plus, they’re a great way to curb those mid-afternoon cravings without reaching for a bag of chips. (No judgment if you still do, though.)
And hey, if you’re someone who’s always on the go, these are a lifesaver. No more scrambling to find a decent snack, just grab a couple of these bad boys, and you’re good to go.
Final Thoughts
So, there you have it. Gluten free protein balls are the snack you didn’t know you needed. They’re versatile, nutritious, and, most importantly, tasty. Whether you’re a gym rat, a busy parent, or just someone who loves a good snack, these are worth a try.
Now, if you’ll excuse me, I’ve got some protein balls to make. (And maybe eat a few along the way. No shame.)
12
servings15
minutes30
minutes140
kcalIngredients
1 cup gluten free oats
1/2 cup almond butter (or your favorite nut butter)
1/4 cup honey or maple syrup
1/4 cup protein powder (vanilla or chocolate)
1/4 cup mini chocolate chips (optional)
1/4 cup chia seeds or flaxseeds
Splash of almond milk, as needed
Directions
- Add the oats, almond butter, honey or maple syrup, protein powder, chocolate chips if using, and chia seeds or flaxseeds to a bowl.
- Mix until everything is well combined. If the mixture seems too dry, add a small splash of almond milk.
- Roll the mixture into bite-sized balls with your hands. Lightly wet your hands if the mixture is sticky.
- Place the protein balls in the fridge for about 30 minutes to firm up before serving.
Notes
- Store in an airtight container in the fridge for up to 1 week; you can also swap in cashew butter, peanut butter, dried fruit, or coconut flakes for variation.